Sunday, July 25, 2010

She is here


Sorry I've been gone but I was busy..........having a baby!!

Oakley Sage Cooley was born on July 22, 2010 at 4:54 pm
She weighed 7lb 10oz and was 20 in long

So far she is a great baby. Her older sisters love her and Ava is a great helper.


Monday, July 19, 2010

HELP! What do you think?...Sippy Cup Leash


Alright so this is my take on the oh so popular sippy cup leash.

One end of the leash has a little link that can clip on to a high chair, shopping cart, stroller......pretty much anything you can think of =)
The other end has an elastic loop.
You can slip the elastic loop over your sippy or for a more secure hold you can loop the leash through the loop and then slip in the cup or toy or whatever it is you don't want to lose.
Under the fabric is elastic so it can stretch, and that makes baby happy.
Just think no more playing the pick up the cup over and over game!!
This is the first one I've made so I just used the fabric I had laying around and whatever thread but you get the point. On Etsy these go for $6-$12 most of them just velcro around the cup. Personally I think that my little ones would just un-velcro it.I'm thinking about selling them for $8.

Please let me know
1. Would you buy one of these?
2. Is $8 to much?
3. How much would you pay?


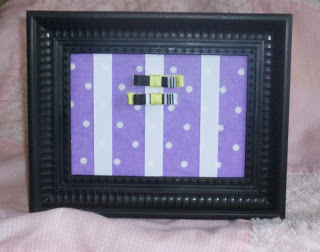
Hair Clip holder tutorial


Today I am going to show you how to make a cute little clippie or mini bow holder.
These are super easy to make, it takes about 5-10 minuets and about $1 to make!


What you need
  • Picture frame (I found some at the dollar store)
  • scrap of fabric big enough to cover the glass
  • Scissors
  • Hot glue gun and glue
  • Ribbon


Step 1
Lay out your fabric nice side down and set the glass from your picture frame on it


Step 2
Put hot glue on the frame and glue the fabric down to the two longer sides of the glass. Make sure you pull the fabric tight.

Step 3
Glue the shorter sides to the glass now too. I fold the corners in like you would when wrapping a gift.


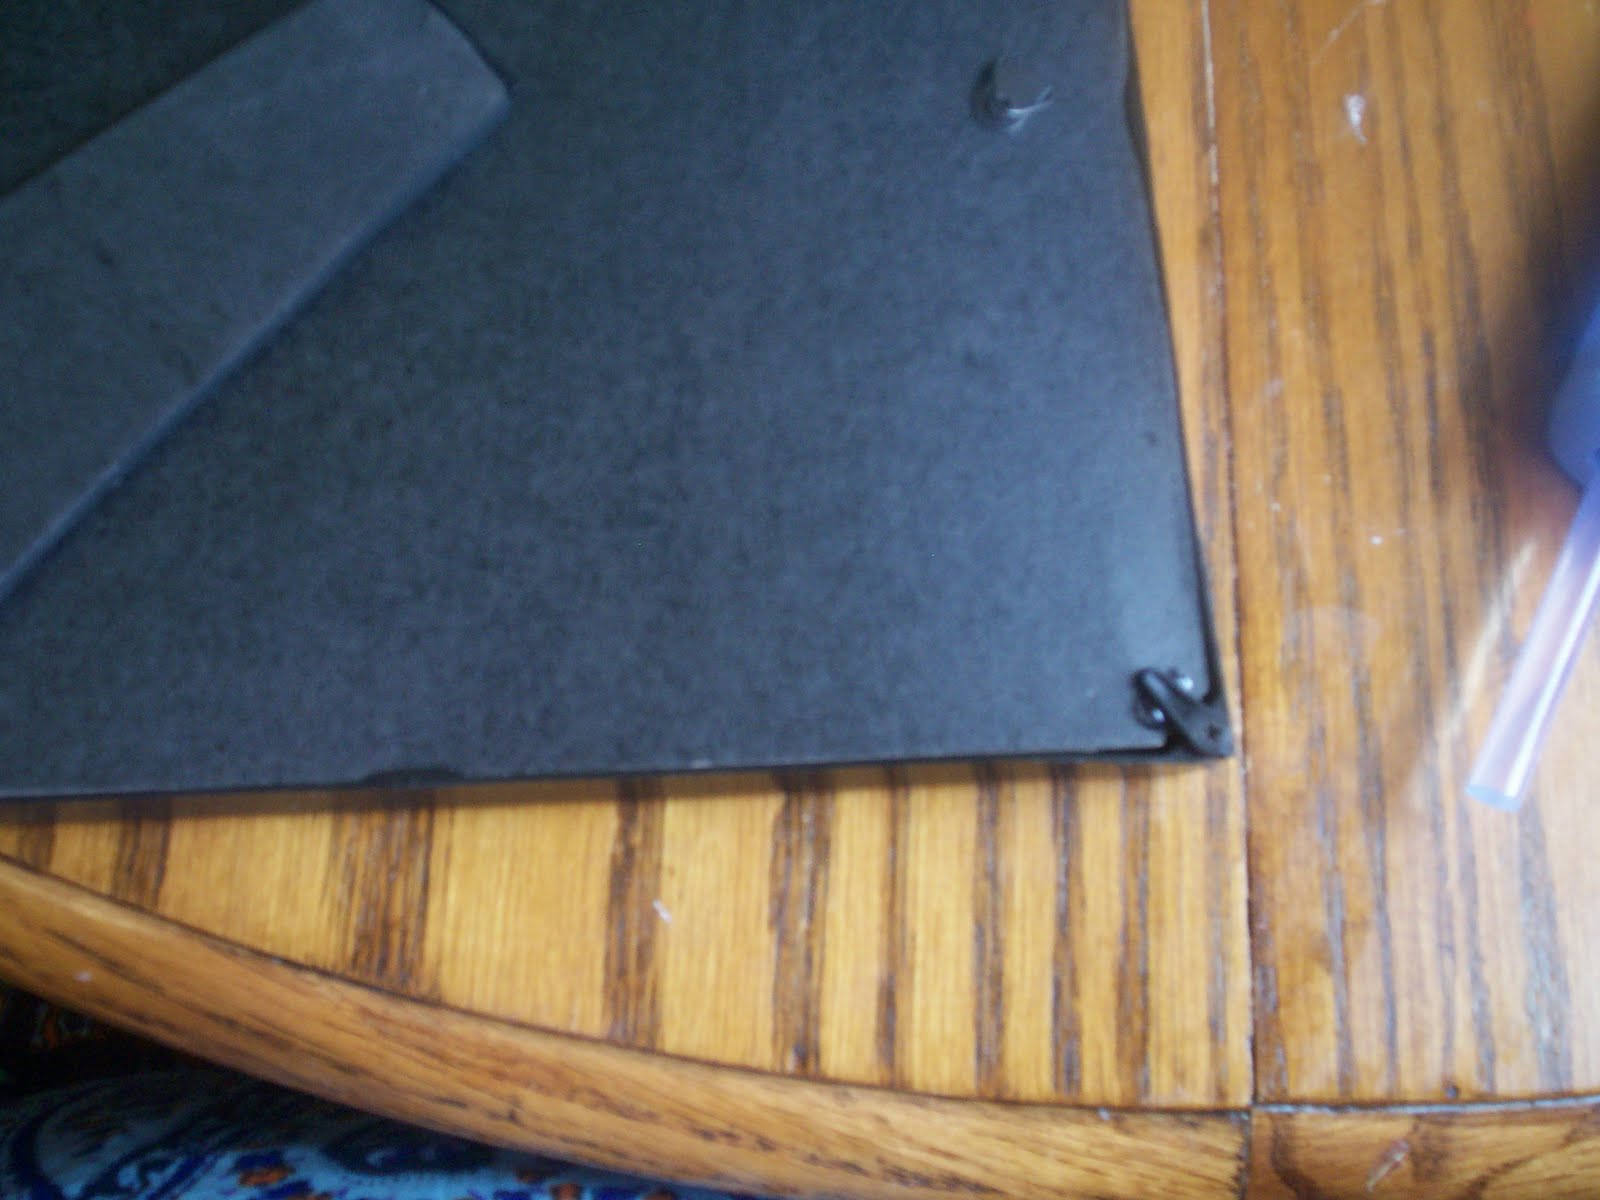
When you flip it over this is what it should look like

Step 4
Now you need three pieces of ribbon a little longer than the glass.

Step 5
I take the paper that came in the picture frame and fold it in half and then fold the sides into the middle. This is just a template to help me get the ribbon in the center and make sure when I put them on they are evenly spaced.

Step 6
Now lay your template down on the top of the glass and take your first piece of ribbon and set it on the middle fold. You want to glue it on to the top of the glass as close as you can get it. Do this to the top and bottom of the ribbon. Do all three pieces this way.

This is what you should have so far

Step 7
Now flip over your covered glass and glue the ends of your ribbon the the glass. Make sure you pull these as tight as you can. you don't want to have saggy ribbon on your holder. =)

Step 8
Put a spot of hot glue on the four corners where the corners of your glass is going to go. You can kind of see that I'm pointing to the spot. Make sure you are fast so the glue doesn't dry.

Step 9
Put the back of the frame on. I put some hot glue on the back and then close the little latch thing so that it's glued in place.

Ta Da! Now just add your cute little clippies!


You can also use scrapbook paper instead of fabric. If you are going to do it this way just glue the ribbon in place on the front of the glass and then trim it. Put your scrap paper in the frame and you are done! This way too you can change the paper as your little ones room changes!

If anything is unclear please feel free to ask!
Thanks for looking and good luck!

- Ally


The Girl CreativeMaking

Sunday, July 18, 2010

Kodak is having GREAT deals

So I went to kodak.com to look for good deals on birth announcements and I found some great deals!

I got 20 FREE birth announcements I have to pay shipping but it's less than $3!!
I also used my other email to set up another account with Kodak so I could get another 20 FREE!ALSO! when you make a new account you get 50 FREE prints!
Here is the announcement I made. Obviously when the baby gets here I will put in the correct weight, length, date, time and of course a picture.
(The name is blurred out because we are not sharing the name until she is born)


I was looking at the free deals and they also have another freebie going on too! You get 50 FREE photo mom cards. They are little business cards that have a name and picture on the front and then you put your contact information on the back. They are suppose to be for moms to give to other moms. I made some for my boutique they will make nice business cards. I am getting 50 from each account.
Here they are =)


Card 1
Front


Card 1
Back

Card 2
Front


Card 2
Back

Bassinet Cover

Yesterday my Step Mom brought over this bassinet for us to use when the baby gets here on Thursday. As it sat in my living room I searched the web for directions on how to make a cover or at least see if I could buy a skirt and bumper for it.
No such luck =(
With the bassinet I had with my other girls I had a pottery barn bumper and skirt but for some reason is has gone missing.So I went to my basement with a pink sheet and some elastic and this is what I came up with =)
All and all I love it. I covered the pad with a lime green twin size flannel sheet we had. I just put the pad in the end of it and wrapped it up. It added more padding and looks super cute. Instead of making a bumper I just made the skirt also go inside and under the pad.

Ta Da! Here it is!
- Ally

Wednesday, July 14, 2010

♥ Bread Makers ♥


I thought I would take this moment to express my love and appreciation for my bread machine.

I always thought it would be cool to make your own bread but never did it because I was sure it would take forever. This winter we got our hands on a bread maker and our life has never been the same! I can not even begin to tell you how much we love it! Once you use it once and see how easy it is you will wonder why you never used it before.

You can find recipes everywhere to use with your maker. I always use www.allrecipes.com but I'm sure there are other sites. When you find a recipe you like you will notice it just gives you a list of ingredients and then just tells you to put them in the order recommended by your machine. I always put the wet stuff in first, then the flour and then all the rest of the dry stuff.

You can make so much stuff in you machine. We make pizza dough in ours once a week, we don't ever buy pizza anymore. This is the recipe we use and its AWESOME!
Dinner rolls are another big hit in our house, there are never any leftovers. Here is a good recipe for dinner rolls.

I'm not sure about other bread makers but I can put the ingredients in mine before I go to bed and set it so that when I wake up we will have a warm loaf of bread waiting. Homemade bread also goes great with spaghetti! YUM!

Did I mention we also make our own sub buns? I can't even express how great a big sub is on bread you made yourself. Oh the possibilities are endless!

I hope this inspires you to get in the kitchen and make some great bread!


Put in the ingredients ...


... and out comes yummy bread!


-Ally